Before the first pull
- Read your selected dungeon mode, entry requirements and reward cost in game.
- Agree who calls stop-damage and shared-hit markers.
- Keep a clear movement lane; choose one mechanic to watch on the first attempt.
Editorial party preparation, not a verified rotation. Hard-specific follow-ups may differ from your fight.
Review a preparation task →Urugugu Canyon: cues and responses
Check your current Normal/Hard mode. These September 23 community cues are not live-tested on Global; follow the visible markers in your fight.
Keep the boss within a controlled area. Read the counter stance before using damage skills, and leave clean ground for the group.
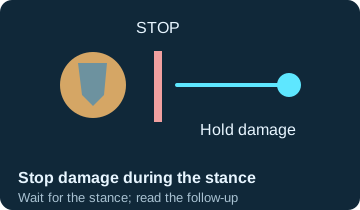
Raur: counter stance
- What you see
- The shield is planted and the counter buff appears.
- What to do
- Stop damage until the stance ends; watch the follow-up.
- After a failed attempt
- Continued hits can reflect and strengthen the response.
- Next pull
- Agree on a stop-damage call.
Urahum: poison
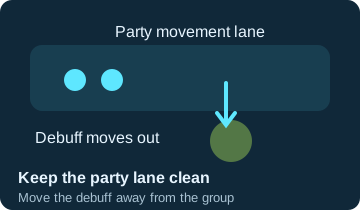
- What you see
- A poison debuff appears after a hit.
- What to do
- Move out of the group’s lane before a puddle forms.
- After a failed attempt
- Puddles can consume the party’s usable floor.
- Next pull
- Leave a clean route and use available defenses on the next attack.
Auldor: shared hit
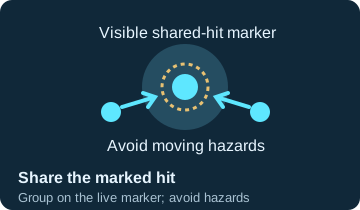
- What you see
- A shared-hit marker appears during the tornado phase.
- What to do
- Share the marked hit while avoiding moving hazards.
- After a failed attempt
- An isolated target takes the hit without help.
- Next pull
- Assign a grouping call. Confirm the current mode’s marker before stacking.
After the attempt
Identify the last visible cue, check which response was missed, and agree on one change before another pull. Recheck the source if the mechanic differs.
Keep your next-run task → · Record role skills → · Krao preparation →